
Need to show a location on your website? Planning a road trip? Organizing an event? Creating a Google Map is easier than you think—and it can save you time while making directions crystal clear. And the best part? You don’t need to be a developer.
In this post, I’ll walk you through how to create a Google Map step by step. Whether you want to embed it on a site or just share it with friends, you’ll have it done in minutes.
Why Make a Custom Google Map?
Google Maps isn’t just for finding the nearest coffee shop. With Google My Maps, you can:
- Highlight multiple locations
- Plan travel routes
- Share business locations
- Create maps for events, real estate, or delivery zones
- Embed an interactive map right on your website
If you run a local business or blog, this is an easy win for better user experience and local SEO. Plus, knowing how to create a Google Map gives you more control over what your users see and how they navigate.
How to Create a Google Map
1. First, sign in to your Google account. (A Gmail login will be provided to you if needed.)
2. After logging in, click on the Map icon to begin creating a new map.
3. Open the hamburger menu (three horizontal lines in the top left corner), then scroll about halfway down and select “Your Places.”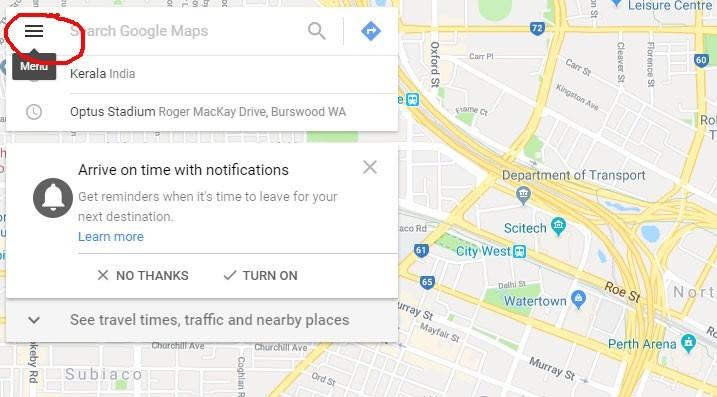
4. Click the “Maps” tab, then select “Create Map” at the bottom. Your new map will open in a separate tab.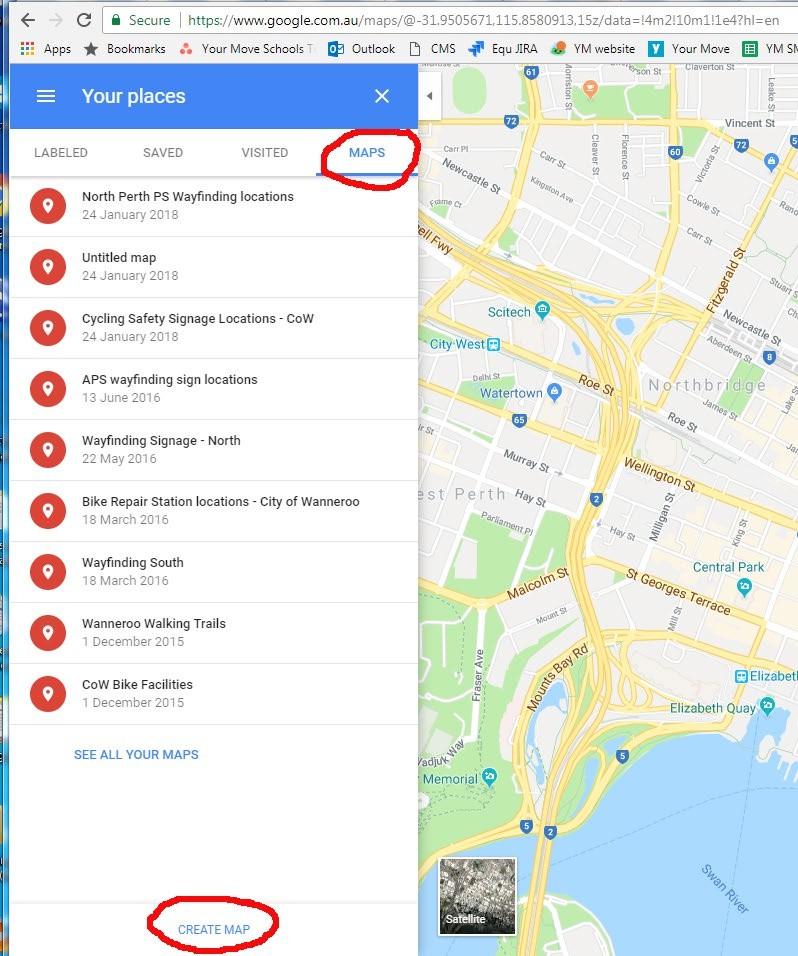
5. Use the search bar to locate a specific place (e.g., “Warnbro Primary School”)—the map will automatically zoom to that area.
6. Give your map a title, and rename the first layer (which is automatically created) to something relevant, such as “Wayfinding Signs.”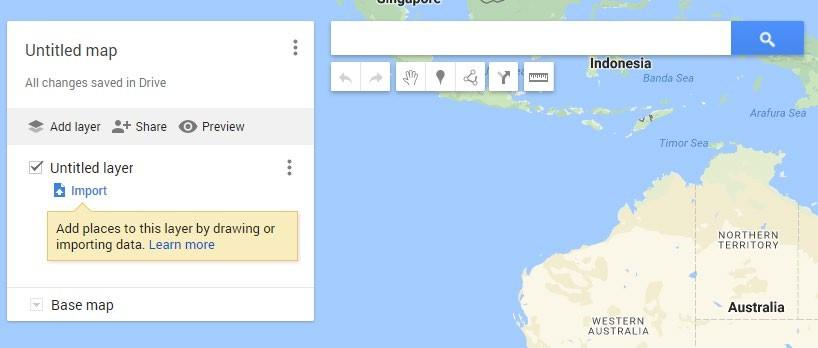
7. Add new layers (e.g., “Route 1”) by clicking the “Add Layer” button on the top left.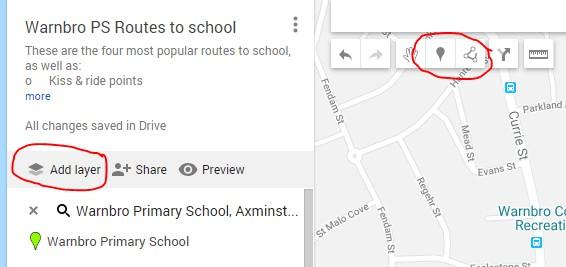
8. Begin placing markers and drawing lines using the tools located at the top of the map:
– To place a marker, click the Placemark Tool and drop it on your chosen location (you can move it later if needed).
– To draw a line, click the Line Tool (right next to the placemark icon). Lines can be color-coded.
TIP: Click the three-dot icon next to the map name to access options like “Set default view.”
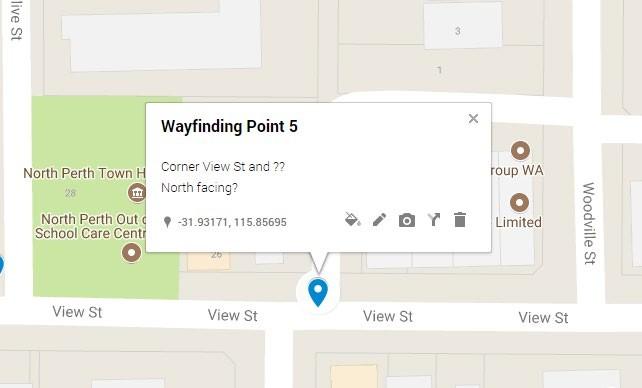
9. Name each placemark or route and include a description (e.g., “Cnr View and Olive St”).
TIP: In the description box, press Alt + Enter to start a new line and add details like the direction the wayfinding sign faces (e.g., “North Facing”).
10. You can always return to update or edit any information. Use the Edit (pencil) icon to:
– Change placemark details
– Adjust color
– Add photos
– Modify placements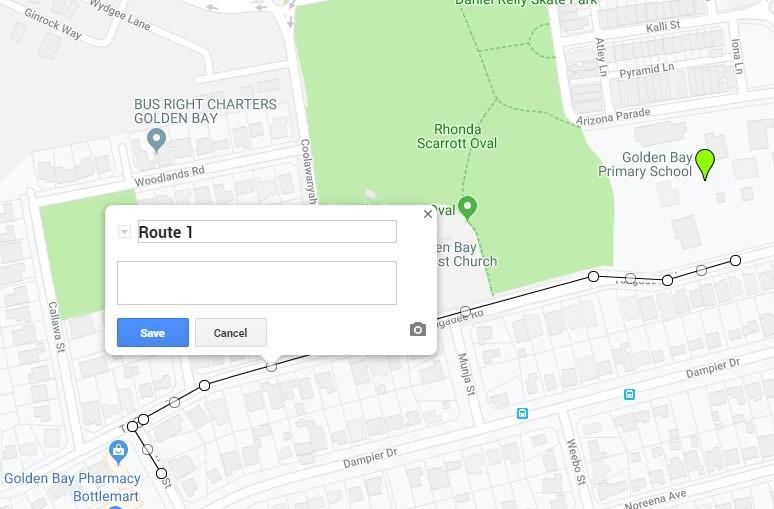
11. To fine-tune your placements, switch to Satellite View by clicking “Base Map” and zoom in as needed.
12. To share your map or allow collaboration, click the “Share” button. By default, maps are private:
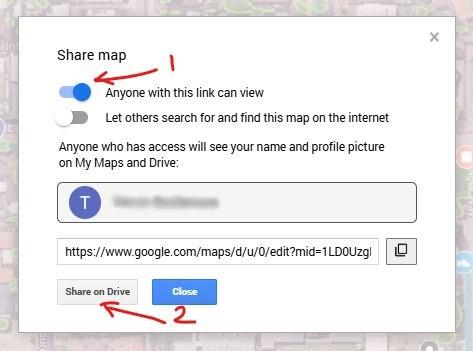
– Enable “Anyone with the link can view” if you want to make it accessible.
– Click “Share on Drive” and choose one of the two options:
– Anyone with the Link – Viewer: Public access to view the map.
– Anyone with the Link – Edit: Public access to edit the map.
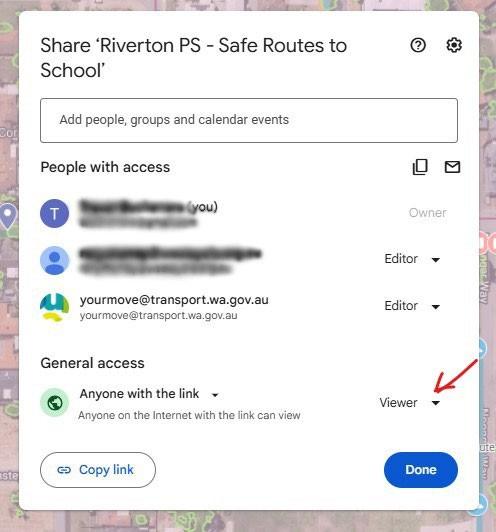
TIP: For school-based maps, we usually select “Viewer – Off” to keep them private and secure due to sensitive content.
—
How to Calculate Walking and Bike Riding Times
1. Click on the Google Apps Grid (9 dots) in the top right corner of your browser.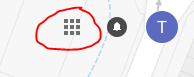
2. From the menu, select “Maps.”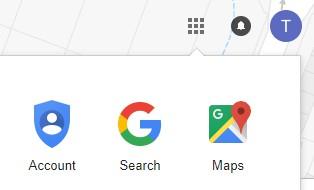
3. A new tab will open. Click the hamburger menu (top left of the screen).
4. Scroll down and select “Your Places” from the dropdown.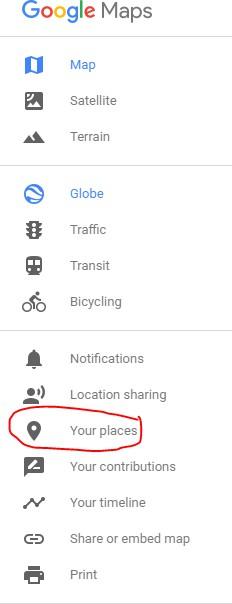
5. Go to the “Maps” tab and choose the map you want to use.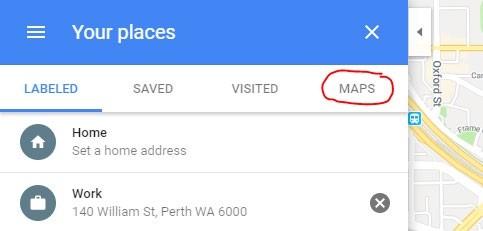
6. Right-click on a placemark and select “Directions from here.”
7. Either click your destination directly on the map or type it into the search field in the blue box on the left and choose the appropriate result.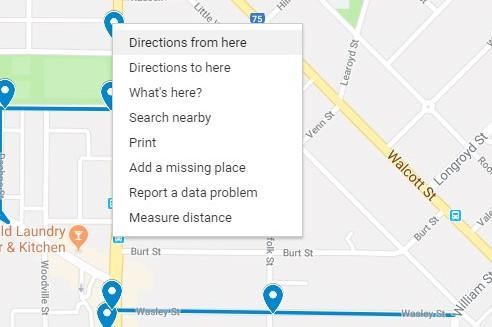
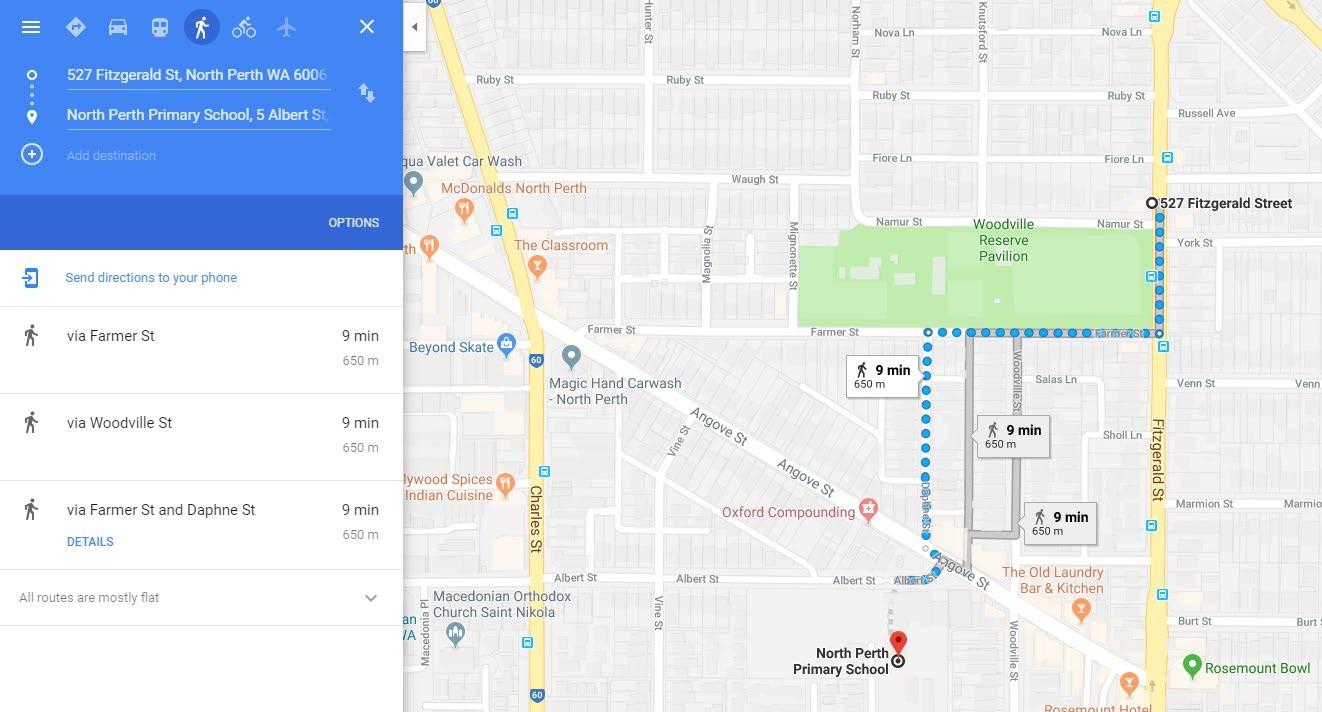
8. Your route will appear. Select the “Walk” or “Bike” option at the top instead of the default “Car” mode to view travel time in minutes.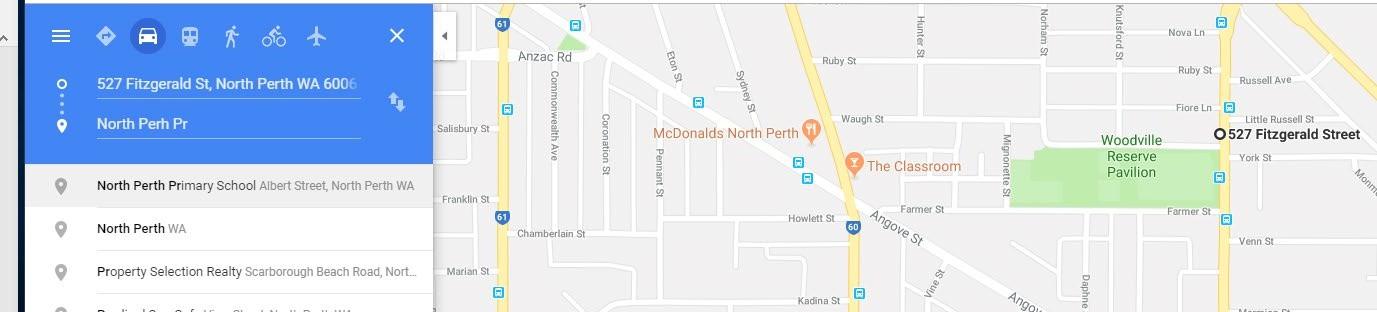
Bonus Tips
- Keep your info updated. Edit your map any time—it saves automatically.
- Use clear labels. Help viewers know what they’re looking at.
- Test it on mobile. Most users will view it on their phone.
Learning how to create a Google Map is one of the easiest ways to make your content more useful and user-friendly. It’s free, fast, and adds real value for your visitors.
Whether you’re sharing a local guide, mapping event logistics, or just showing people how to find you, creating a Google Map puts you in control.